Bombay Pav for Beginners
I have lived away from Mumbai for a fair amount of time. In all my years of living away from home, I have managed to find a good fix for most of my nostalgic hankerings – except one. I’ve never really come across a good Mumbaiya Pav anywhere outside Mumbai. So I decided to make one myself, this week.
Growing up, I was never really much of a baker, partly because middle-class Indian kitchens mostly revolve around bench top gas stoves. In a household kitchen, there’s no dire need for dry heat cooking equipment. And partly, I had convinced myself that I hated desserts and baking was not for a savory food connoisseur. I am now, happy to report that I have done away with all such non sense.
You know who’s your best friend when you start learning to bake? A weighing scale. It increases your chances of replicating the recipe, gives you an accurate sense of what makes/breaks a dish and also helps you understand how exactly flour reacts with butter, sugar and eggs when you provide a stable heat source. So, in this endeavor of trying to step out of my comfort zone, I took up French Pastry. My first ever attempt in this endeavor was a decadent breakfast pastry of Austrian descent – a croissant. Yes, I didn’t try bread, I didn’t try cake, I didn’t try a lowly cookie. I went straight for the kill. I tried to make a croissant. I tried alright – fell face down and what a brilliant fail it ended up being! But that’s a whole another story and it will eventually make its way into this blog. Because, what better there is to do now?
This brings us to Pav – its an Indian version of a bread roll. It has its roots in Goa, where the Portuguese rulers first made it with toddy as there was no yeast manufactured in India at the time. It gets its name from the Portuguese word for bread – Pao. It is similar to a bread dough, except, there’s an extra step of kneading with milk and soft butter once you have formed gluten.
Ingredients:
- All Purpose Flour/Maida – 225 gms or (1 + 3/4th cups)
- Milk – 120 ml to start and 31 ml more for Step 2 (1/2 cup + 1/8th cup)
- Dry Active Yeast – 3.5 gms (1 tsp)
- Salt – 3 gms (1/2 tsp)
- Sugar – 4 gms (1 tsp)
- Butter – 15 gms + more for greasing the pan (1 tbsp + more)
Directions:
-
Blooming the Dry Active Yeast: Mix sugar (4 gms) in lukewarm milk (120 gms) and add the yeast. Allow the mixture to sit so the yeast can get activated. This should not take more than 10 minutes. Once you see bubbles on top, with a distinctly sour smell, your yeast is good to go. Note: If there are no bubbles or sour smell, the yeast you’re using has likely expired.
-
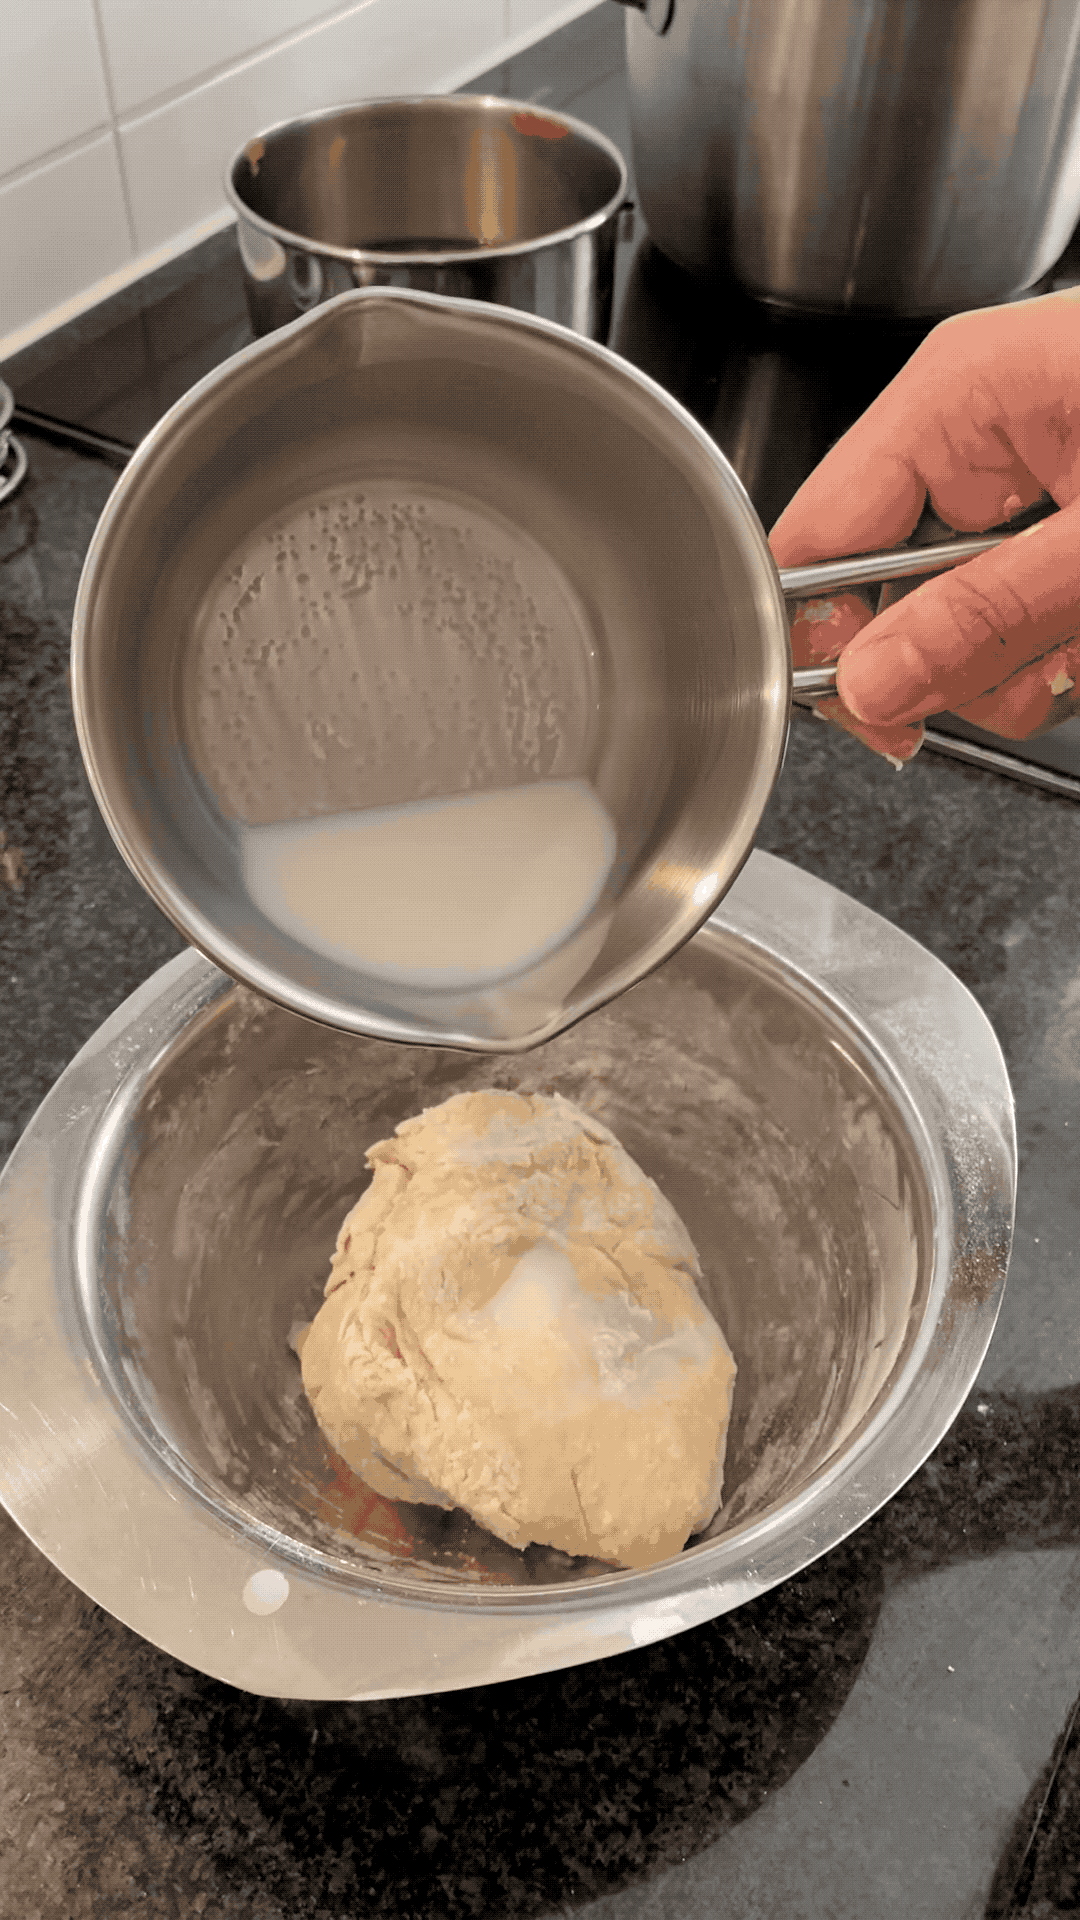
Sift flour and salt to this yeast mixture and combine till your dough has roughly come together.
-
At this stage, add the remaining 31 gms of milk to the dough.
-
Continue to knead the mixture for 10 minutes (no less) at this stage until the gluten forms. Gluten is a group of proteins that provide structure to your bread. Your dough should resemble a semi bouncy, soft ball at this point.
-
Feel free to set a timer to make sure you have kneaded the dough well. Here’s an interesting read on the structural components of bread.
-
Now, add 15 gms of soft unsalted butter at this stage and continue kneading for another 5-7 min. This will not just develop your gluten but also stabilize it.
-
Tuck your dough once it feels super soft, and place it to rest in a bowl that is loosely covered for a minimum of one hour. This process relaxes the gluten proteins that have formed and also allows for the yeast to release carbon dioxide that raises the dough to double its volume. This step is crucial to develop the bread’s flavor profile.
-
Once your dough has risen after an hour or so, softly punch it to release the gas and knead it again for a minute or two.
-
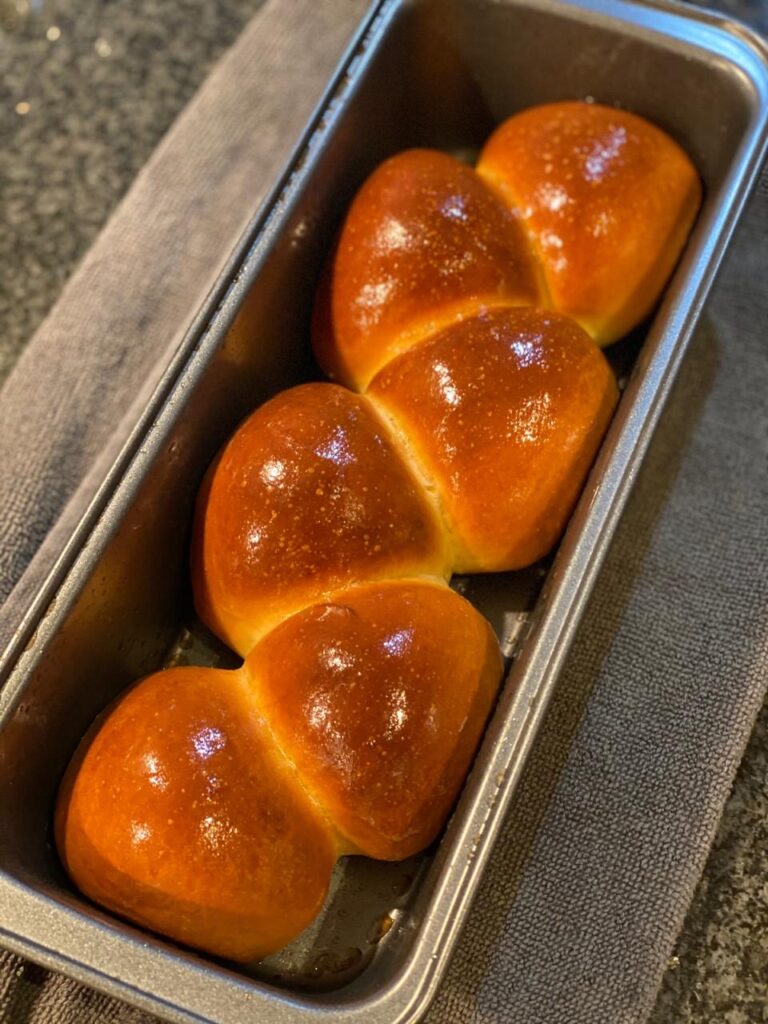
Divide and shape your dough into round balls and place them in a greased pan of choice. Brush lightly and evenly with milk. This will prevent them from drying and also ensure even color development.
-
Allow them to rise one more time. This proofing step is critical to forming the shape of your bread.
-
Once your dough balls have reached the desired size in about 20-30 minutes, bake them at 180 deg C for 18 min with an aluminium foil cover.
-
At this point, remove the aluminium top, place a small cup of water and continue to bake for 3-4 minutes.
-
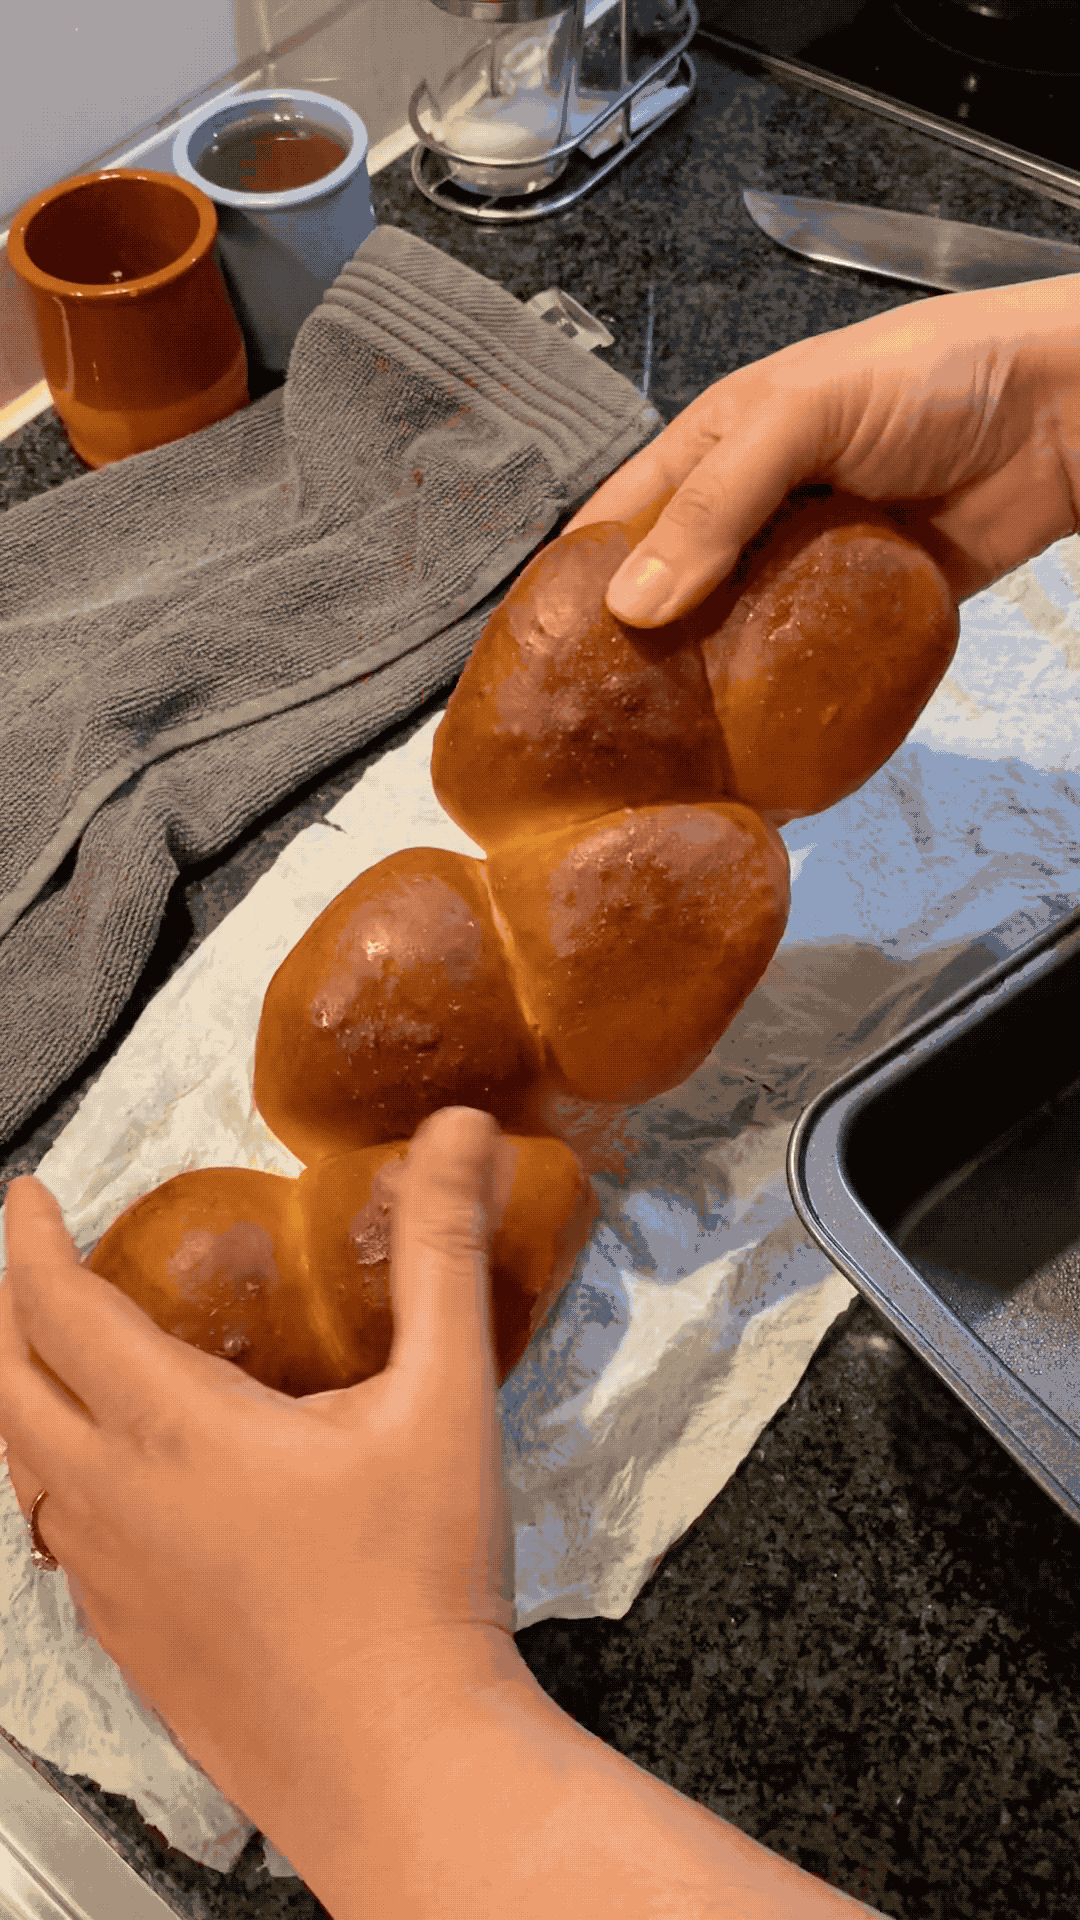
Once your Pav is completely baked, brush them lightly with butter and cover the tray with a wet towel and let them rest for 15 min.
-
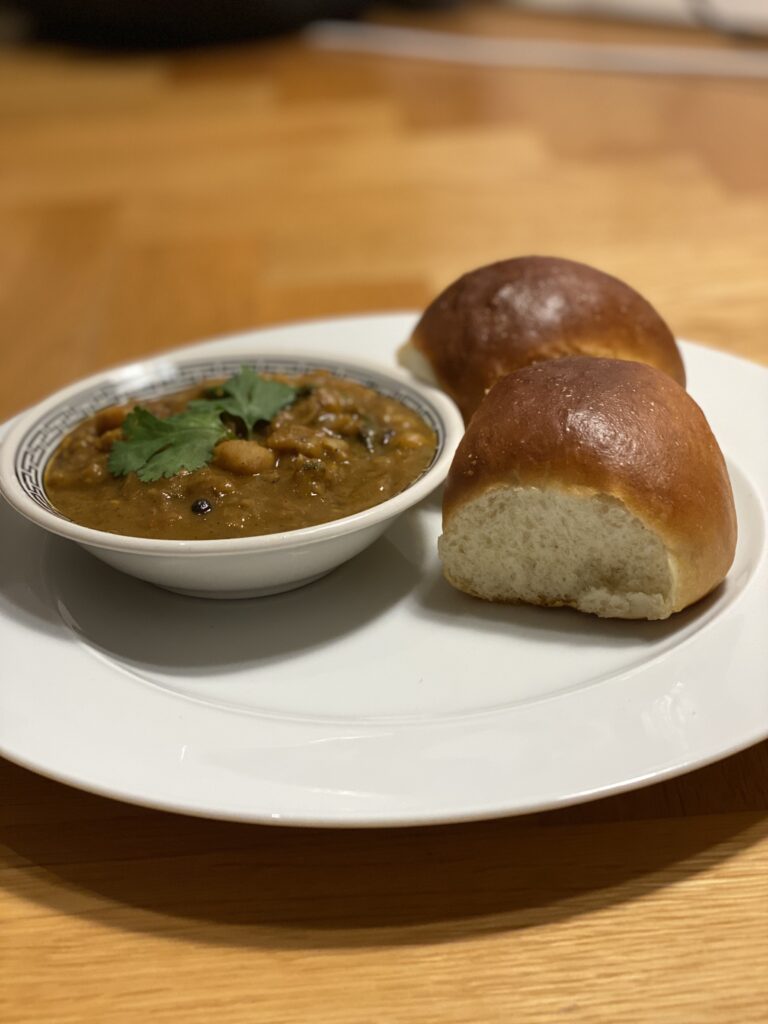
Serve with your side of choice. We had some Chole (chickpea gravy) in hand to eat with the Pav.
This recipe was borrowed from Archana Hebbar’s website. Her recipes are great for someone looking for uncomplicated dishes with simple instructions.
Like I mentioned earlier, this was my first mild success at baking. I have a few hundred mental notes about how I would like to change my recipe the next time. More importantly, do more of what I enjoy. I hope trying this recipe brings you some joy, because it definitely lit me up!
Stay safe, stay hungry, love more, and cook more.
Tags: #quarantine, baker, beginner, bombay, bread, homecook, indian, pav, snack, streetfood